
I’m going to tell you, online shopping is dangerous. there’s so much interesting stuff online and retailers have really made it easy for vulnerable people like me to take their bait. while I was browsing parts for my GD3 I stepped into a set of Tamiya 1/24 kit then next thing I know it’s already on my front door! talk about impulse buying 😂
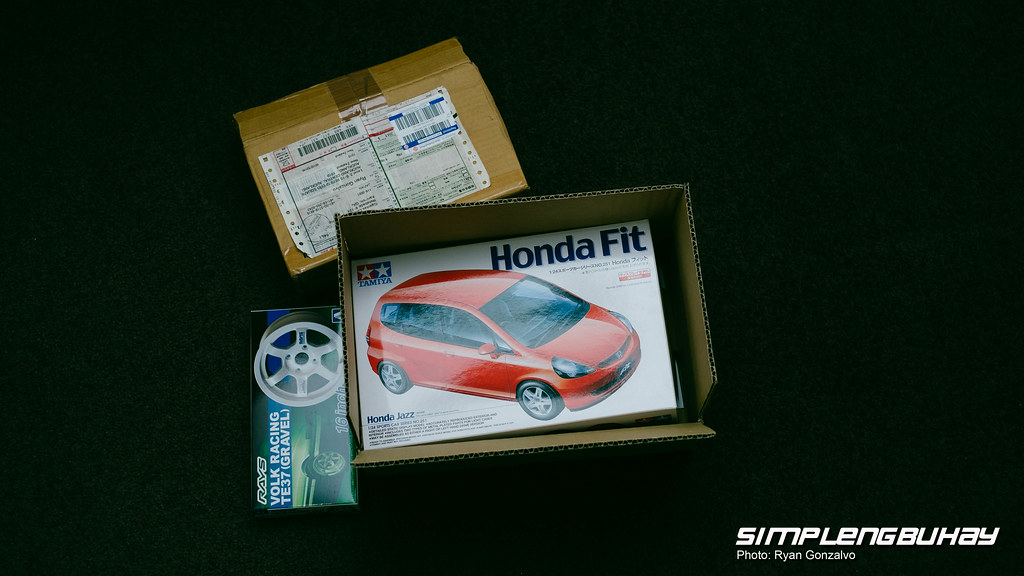
The package arrived straight from the land of the rising sun.

I immediately opened the box and checked the content. looks like Christmas came early!
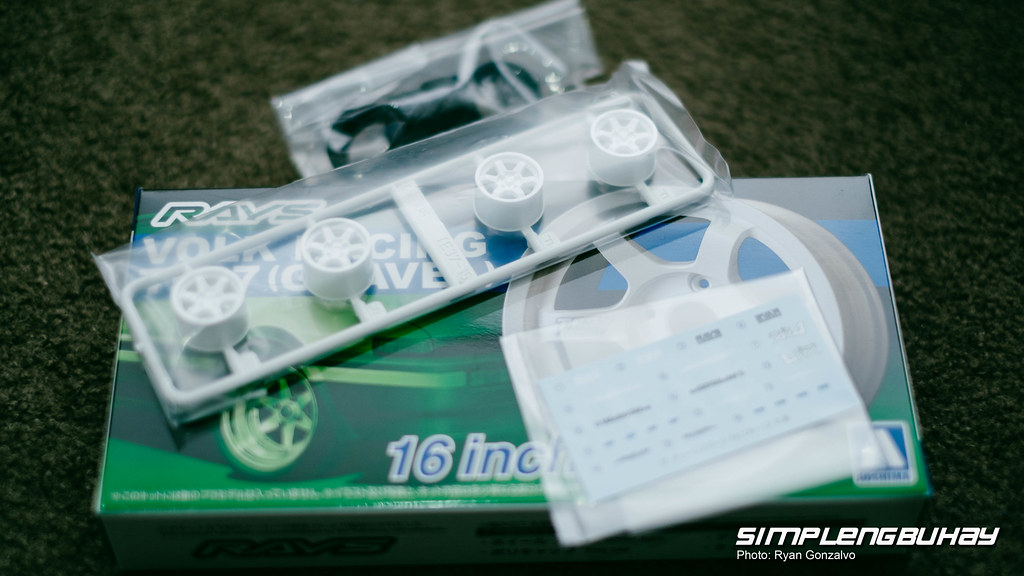
the Tamiya kit comes with Fit factory style wheels but of course, i will not settle with that, a set of my all time favorite wheel, Rays TE37, has been added to the shopping cart as well. the scale wheels were manufactured by Aoshima but it came with an adapter to perfectly fit the Tamiya kit

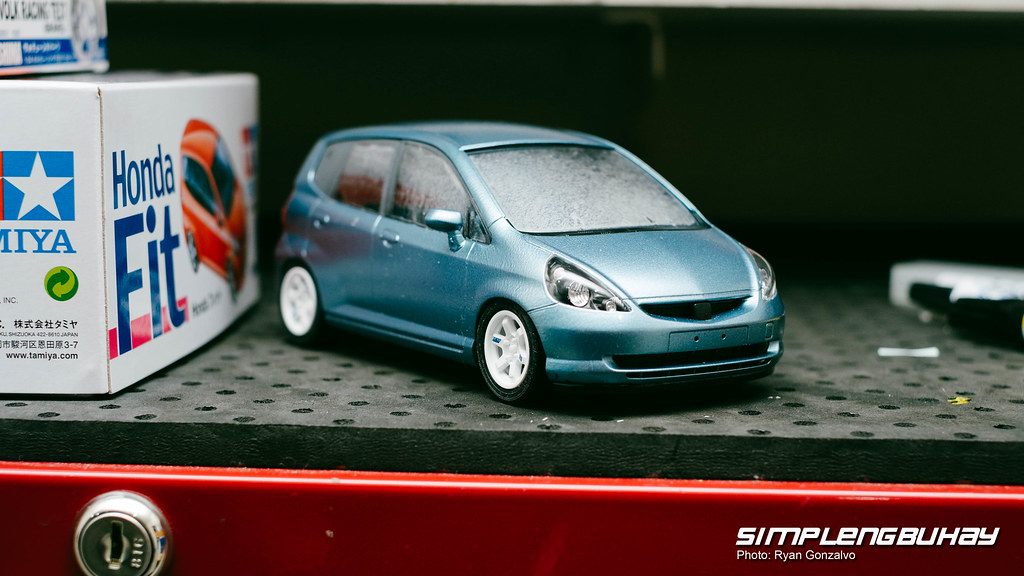
Initial mockup of body and wheels. the internals are not yet installed on this photo that’s why it’s sitting low but it would be nice if i can slam it like this.
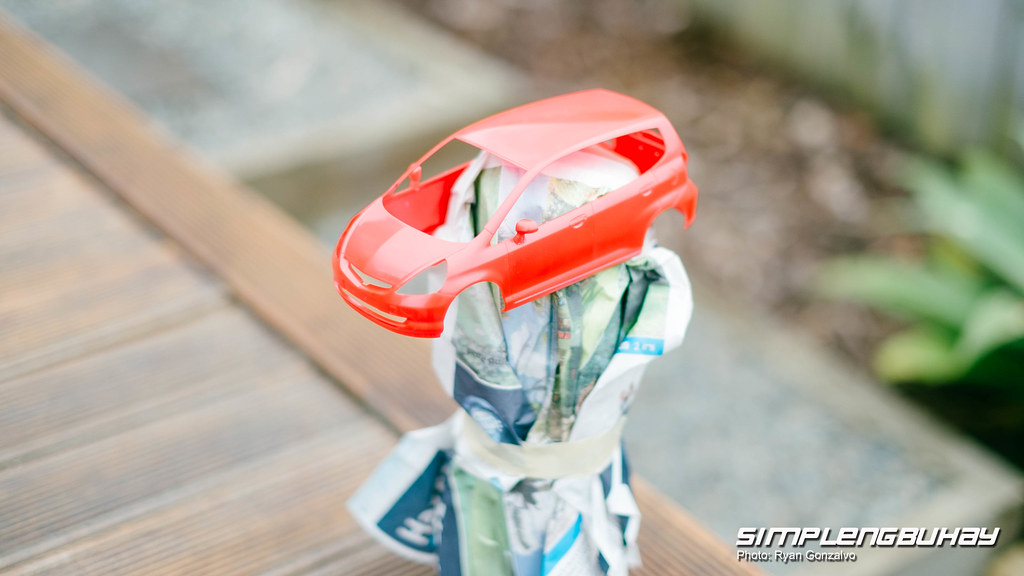
The non motorized Tamiya Honda Fit kit is only available in red version so painting is a must if you want a different color.
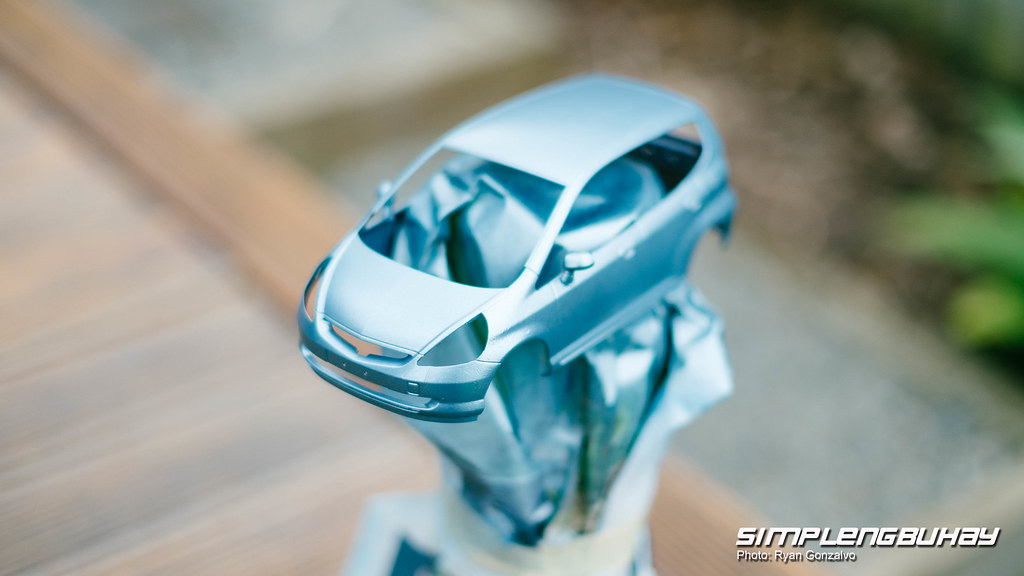
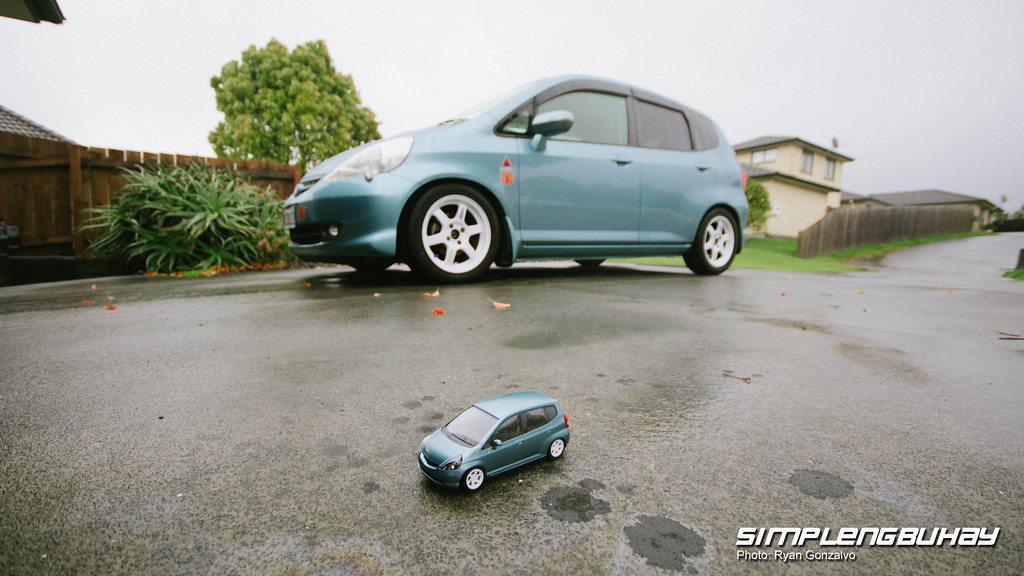
Since I’m going for a replica look of my car i used a spray paint with the same color code as my Fit.
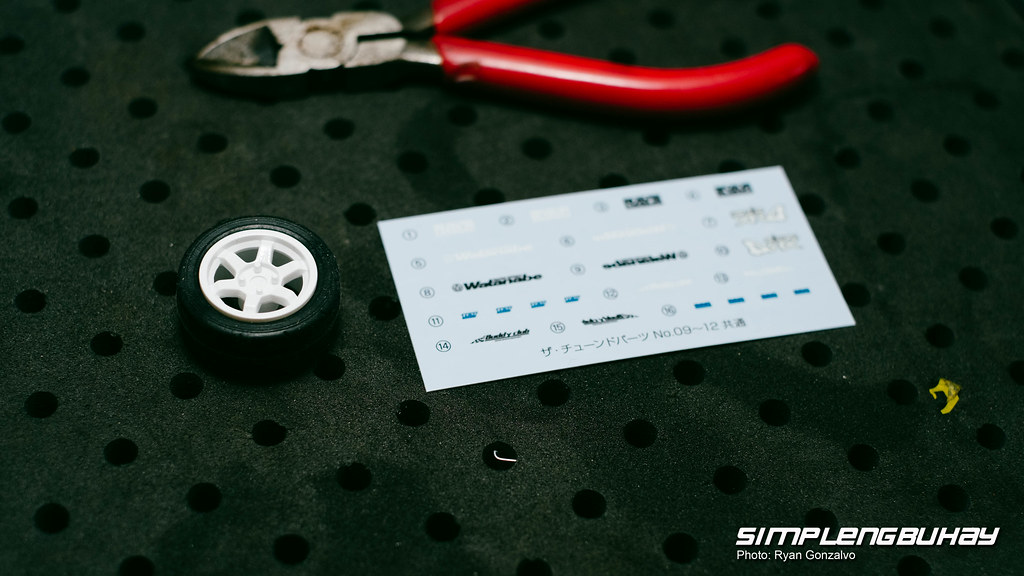
While waiting for the body paint to dry I started adding details to the wheels. A set of decals came with the kit, it’s not pre-cut so you would need to trim it according to your specs. I would say this is one of the part which consumed most time, it involves water when working with decals and it gets really tricky for a size like this. I learned that this is the standard process for scales with the same size.
Next on the task list was to paint the borders of the glass but things didn’t went well. in my attempt to cure the paint a bit faster I placed the painted surface on a small oven and baked it with 40 degrees Celsius. it worked well with the body but not with the plastic glass. the glass developed bubbles and became frosty. I stopped documenting at this stage and just went on with the build.
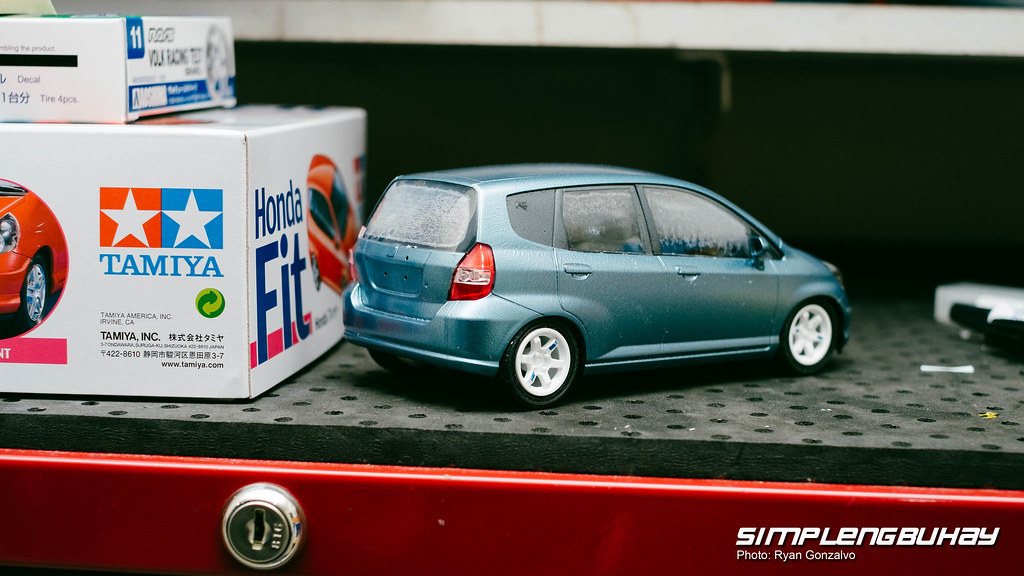
On the positive side, since the inside is barely visible I got the chance to be more relaxed on assembling the interior and now I have the room to push the wheels further inside to give it a lowered stance.
Apart from the glass incident, i think the whole project went well. I would admit it was harder to build than what I anticipated, most of the parts are not designed to clip on together. it requires plenty of trimming and adhesives to make sure the panels would fit together. steady hands and shitloads of patience are also a must. This is not to discourage anyone, I actually want to recommend you to build one for yourself, it will give you real satisfaction one you finished your kit.
That’s it for now, more update on real cars next time. Thanks for looking!
